Led lighting is more and more popular by the public, although the LED lighting is good-looking but the installation is a big problem. So how should it be installed? This article is mainly to introduce the installation of the LED ceiling lamp _led ceiling lamp installation diagram.
How to install led ceiling light (installation tutorial)1. Turn off the power supply switch of the lamp.
This is crucial. Safety is the first. If you break the electricity, you can do whatever you want. If you don't turn off the switch, the wire is electrically charged. It is very dangerous. It is not good to get an electric shock.
2. Open the lampshade and fix the sensor to the wall or ceiling using screws and expansion tubes.
Usually, the lampshade of the ceiling lamp has a rotation jam, push-in jam, or screw-fixed. It is not difficult to disassemble it. The hole in the ceiling is to be marked after the chassis is aligned, and then drilled with a hammer drill. The impact drill is easy to use, and the hole can be punched by pressing the switch, but it is necessary to push it forward with a little force.
For some ceiling lamps, the light source can be removed. If it can be removed, it is best to remove it first. For LED ceiling lamps, many light sources are fixed to the chassis, so that they can't be taken down. If you can't take them down, be careful not to break the LED lights when installing the chassis.
3. Connect the power supply cable and the lamp power cable. First strip the power supply cable and the lamp power cord from the 5-7mm long wire end, and then screw the exposed metal wires together and wrap them with electrical insulation tape.
It is necessary to pay attention to the distance between the two wires. If it is possible, the two wires should not be placed under the same piece of metal to avoid short circuit and danger. If you can, pack a little electric insulating tape.
4. Align the lamp cover with the lamp on the lamp, push it in firmly, and fix the lamp cover on the lamp.
If the lamp cover is screwed, align the lamp cover and put the screws on. For the lampshade is plexiglass or acrylic material, these are fragile materials, be careful when loading, and keep it steady when covering the lampshade.
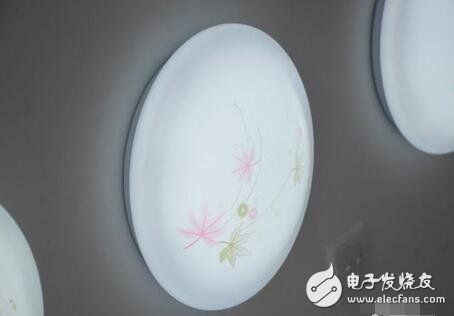
First, choose a location
The first thing to do to install a ceiling light is to determine where the ceiling light is installed. For example, the ceiling lamps in the living room, dining room, and kitchen are preferably installed in the middle, so that the light at each position is relatively average. In the bedroom, considering the effect of mosquito nets and light on sleep, the ceiling light should not be installed above the bed.
In addition, the ceiling lamp needs to select a wall or ceiling that can withstand the weight of the ceiling lamp, such as a masonry structure, and try not to select a wooden wall surface, so as to avoid the risk of falling for a long time.
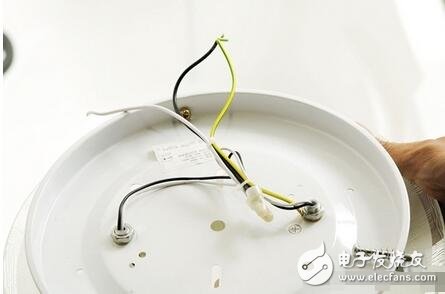
Second, the demolition ceiling lamp mask
Remove the ceiling lamp cover. Under normal circumstances, the ceiling lamp cover has two fixed ways of rotation and snapping. When disassembling, pay attention to avoid damage to the ceiling lamp. After removing the mask, the lamp will be replaced by the way. Remove to prevent the lamp from being broken during installation.
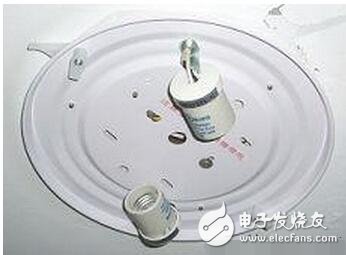
Third, the installation base
Place the base in the predetermined installation position, mark the wall with a pencil, then take the base, drill with the electric drill at the marked position, and then install the expansion bolt for fixing the base in the hole, paying attention to the diameter of the hole and the depth of the bolt and the bolt The specifications match. Then put the base back to the predetermined position and fix it.
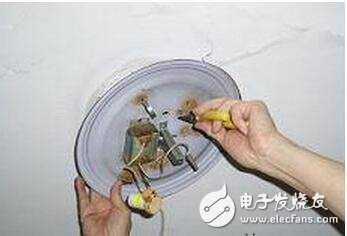
Fourth, the connection wire
After fixing the base, you can connect the power cable to the terminal block of the ceiling lamp. It should be noted that the two wires connected to the power cable of the ceiling lamp should have good electrical contact, and should be wrapped with black tape separately. Keep a certain distance, if possible, do not put the two wire heads under the same piece of metal to avoid short circuit, which is dangerous.
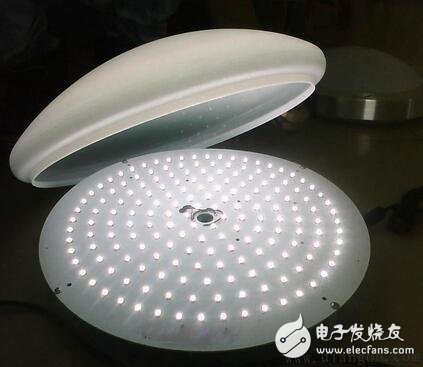
Fifth, the installation of masks, ornaments
After connecting the wires, you can try to power on. If everything is normal, you can turn off the power supply and install the mask of the ceiling lamp. The living room ceiling lamp also needs to be equipped with a series of charms, because each ceiling lamp pendant is different, so the specific installation method can refer to the product manual. The charms will generally remain, can be stored after installation, and can be replaced when needed later.
As the heat of home decoration continues to heat up, the changes in ceiling lamps are changing with each passing day. They are no longer confined to the previous single lamps, but are diversified. They not only absorb the luxury and style of chandeliers, but also adopt the ceiling-mounted installation method. It avoids the shortcomings of a small room that cannot accommodate large luxury lighting.
I-Beam Inductors,Chip Inductors,Color Ring Inductor,R-Bar Inductors
Shenzhen Sichuangge Magneto-electric Co. , Ltd , https://www.scginductor.com