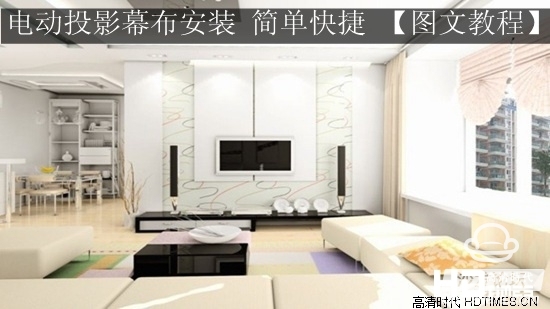
Today, home theaters are becoming more and more popular, but we know very little about home theater. The curtain is the most important in a home theater because it is a direct response body for the user to see if the movie is perfect. Electric curtains have become the most common type. Many people want to install a home theater, but do not know how to install the screen. Today, Xiao Bian will learn how to install electric curtains with everyone. Interested ones can come together.
Hanging type
1. Refer to (figure 1) Measure the distance between the hooks M1 and M2 at both ends of the shell with a ruler (Hook M1 and M2 can move left and right)

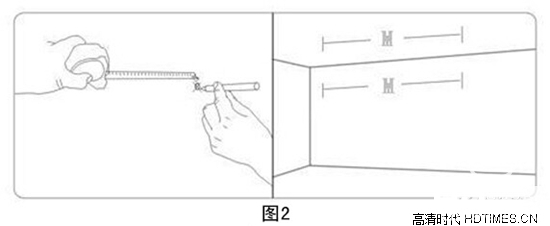
2. Referring to (Fig. 2) According to measuring the distance between M1 and M2, drill two moderate hole positions in the corresponding position on the ceiling, and insert the expansion screw into the hole (select product accessories)

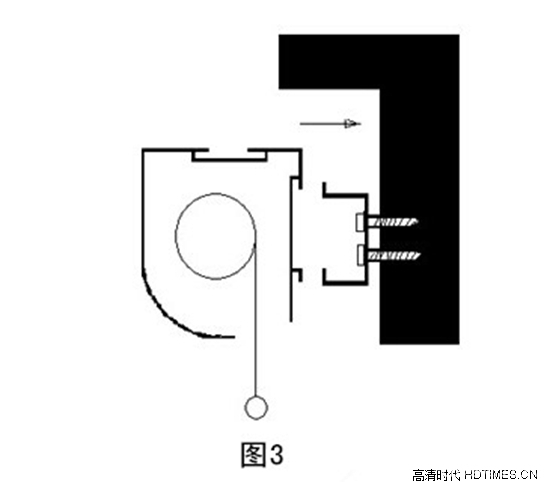
3. Referring to (Figure 3), hook the holes at both ends of the shell into the expansion screw hooks that have been hit in the ceiling, and fix the projection screen.

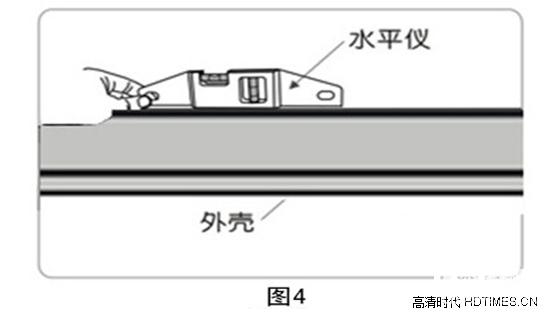
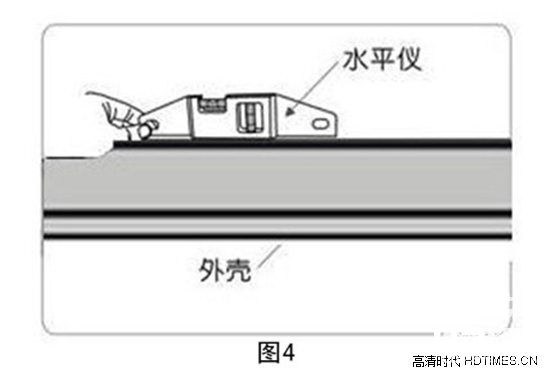
4. After the projection screen is installed, refer to (Figure 4) to measure the horizontal status with a horizontal ruler and adjust the projection screen to the horizontal position.
Wall-mounted type: 1. Refer to (figure 1) to measure the center distance between the M1 and M2 at both ends of the mounting bracket on the back of the housing by using a ruler (the mounting frames M1 and M2 can move left and right).
2. Referring to (Fig. 2) According to measuring the distance between M1 and M2, drill eight moderate hole positions in the corresponding positions on the wall, and insert expansion screws into the holes (select product accessories)
3. Referring to (figure 3), use the expansion bolts on the back mounting bracket of the housing to penetrate into the expansion screw holes that have been hit in the wall and fix the projection screen.
4. After the projection screen is installed, refer to (Figure 4) to measure the horizontal status with a horizontal ruler and adjust the projection screen to the horizontal position.

Hanging type
1. Refer to (figure 1) Measure the distance between the hooks M1 and M2 at both ends of the shell with a ruler (Hook M1 and M2 can move left and right)

2. Referring to (Fig. 2) According to measuring the distance between M1 and M2, drill two moderate hole positions in the corresponding position on the ceiling, and insert the expansion screw into the hole (select product accessories)

3. Referring to (Figure 3), hook the holes at both ends of the shell into the expansion screw hooks that have been hit in the ceiling, and fix the projection screen.

4. After the projection screen is installed, refer to (Figure 4) to measure the horizontal status with a horizontal ruler and adjust the projection screen to the horizontal position.

Wall-mounted type: 1. Refer to (figure 1) to measure the center distance between the M1 and M2 at both ends of the mounting bracket on the back of the housing by using a ruler (the mounting frames M1 and M2 can move left and right).
2. Referring to (Fig. 2) According to measuring the distance between M1 and M2, drill eight moderate hole positions in the corresponding positions on the wall, and insert expansion screws into the holes (select product accessories)

3. Referring to (figure 3), use the expansion bolts on the back mounting bracket of the housing to penetrate into the expansion screw holes that have been hit in the wall and fix the projection screen.

4. After the projection screen is installed, refer to (Figure 4) to measure the horizontal status with a horizontal ruler and adjust the projection screen to the horizontal position.

Industrial Aluminum Alloy Die Casting
Industrial Aluminum Alloy Die Casting,Precision Magnesium Parts,Precision Pressure Cast Mold,Custom Auto Casting Parts
Dongguan Metalwork Technology Co., LTD. , https://www.dgdiecastpro.com